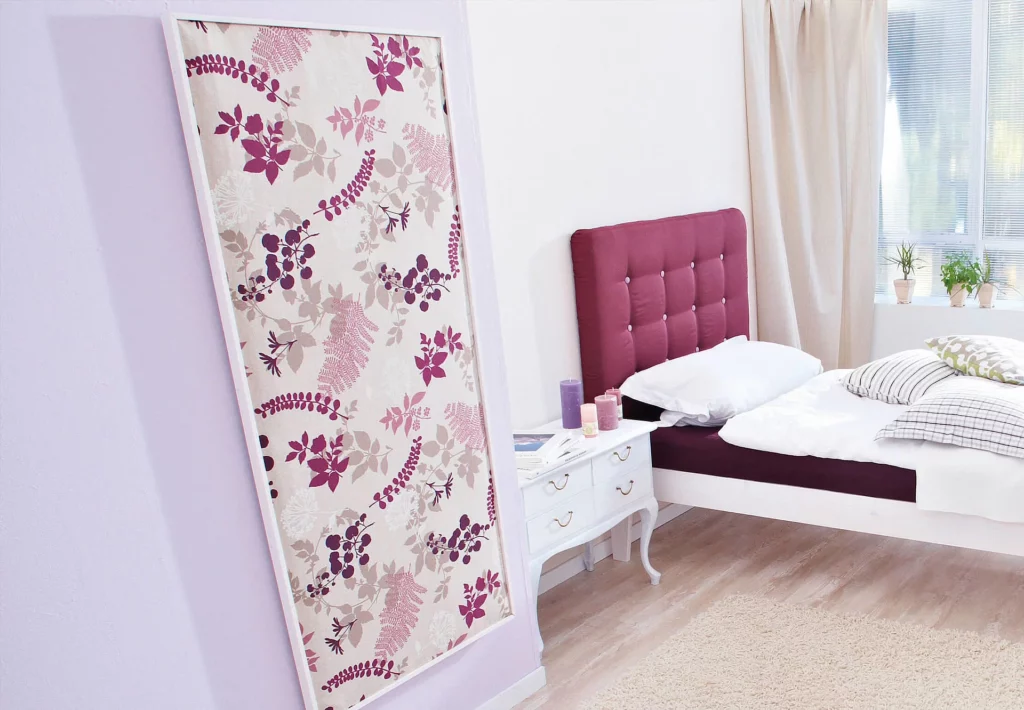
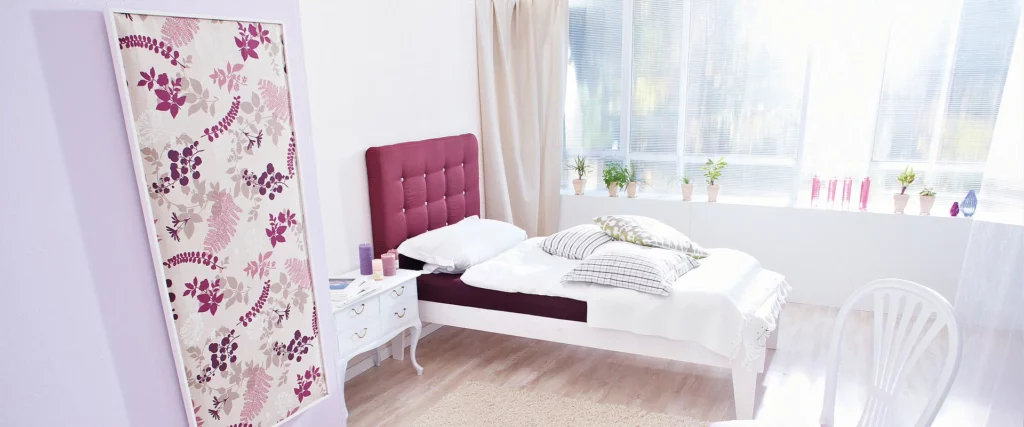
Distinctive decoration
Following a few simple steps, you can conjure up unique pieces of wall art in no time at all that will not only impress friends and acquaintances, but also really bring your home that feel good factor.
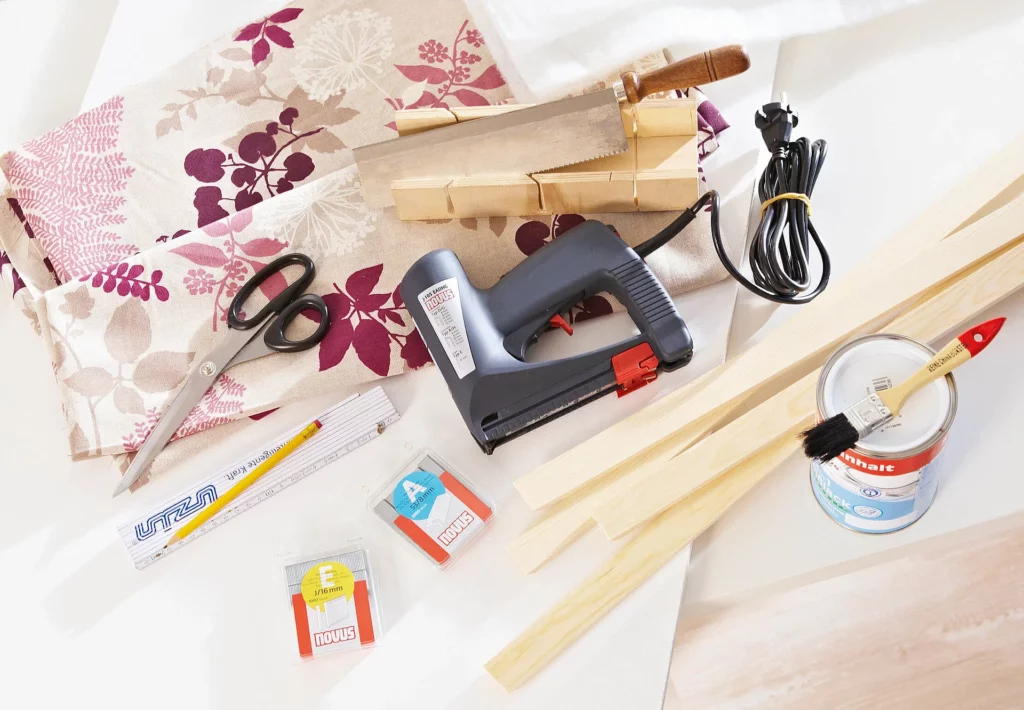
This is what you’ll need:
- wooden board in the desired length and width
- sufficient padding of the same length and width as the board
- decorative fabric, about 10 cm longer and wider all around than the board
- 4 narrow wood strips of the same length as the sides of the board
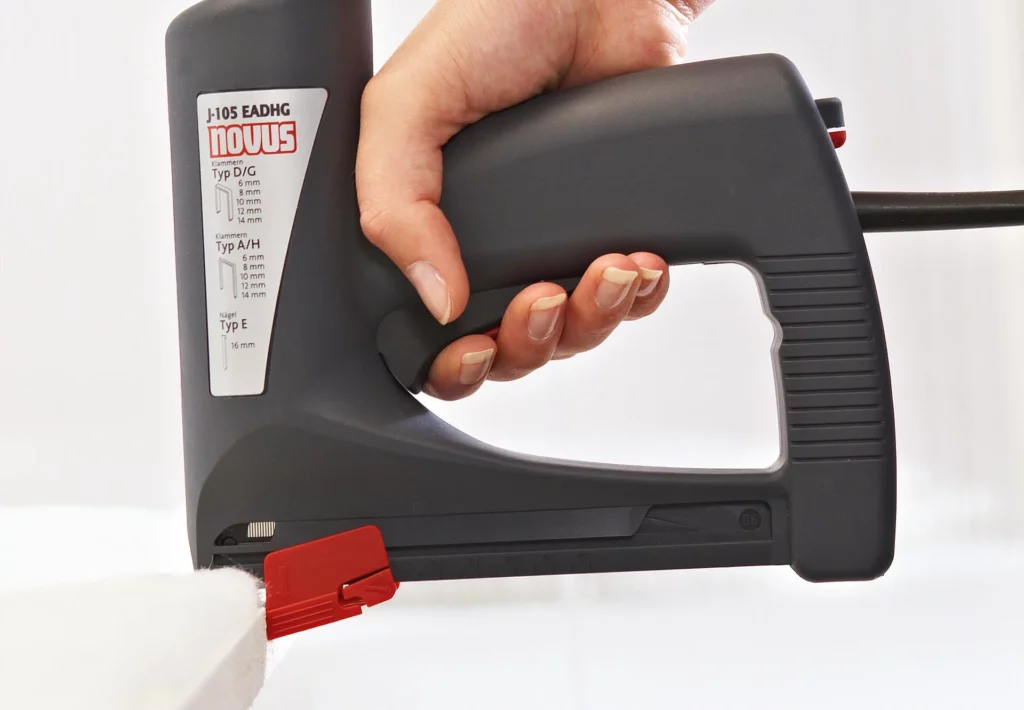
- electric tacker (e.g. Novus J-105 EADHG) with A-staples and E-nails
And here’s how it’s done:
Tack the padding firmly to the wooden board.
Take the wooden board, place the padding on it and staple in place.
Place the wooden board on the fabric with the padding facing down.
Spread your chosen fabric out on the floor, then turn over the board and the padding, and place it on the fabric.
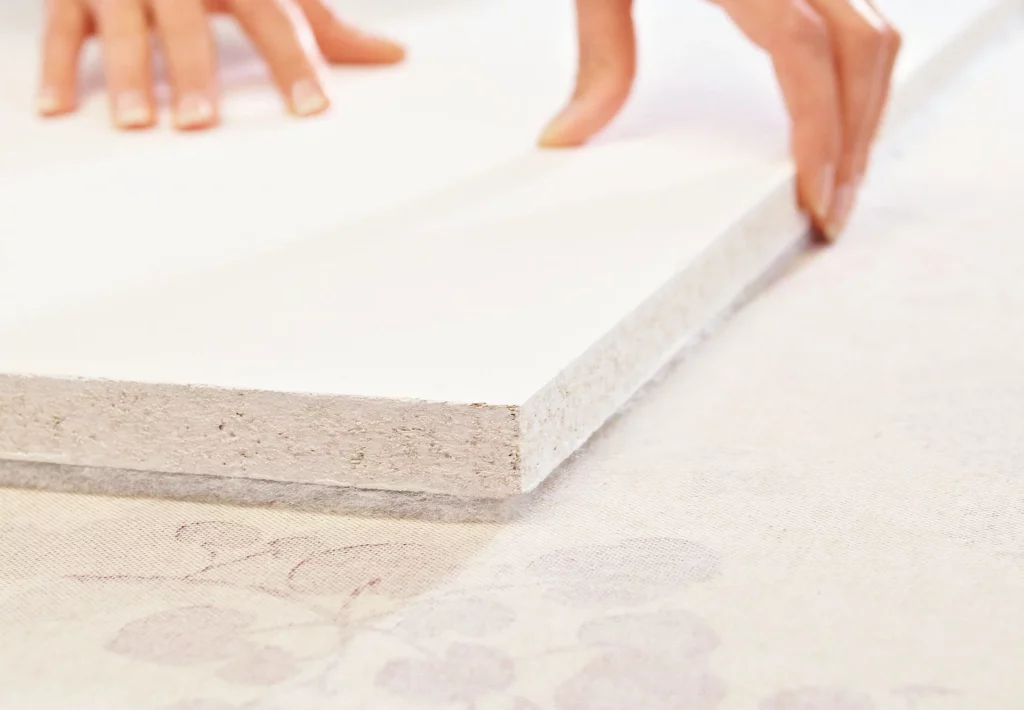
Stretch the fabric over the wooden board and staple it in place.
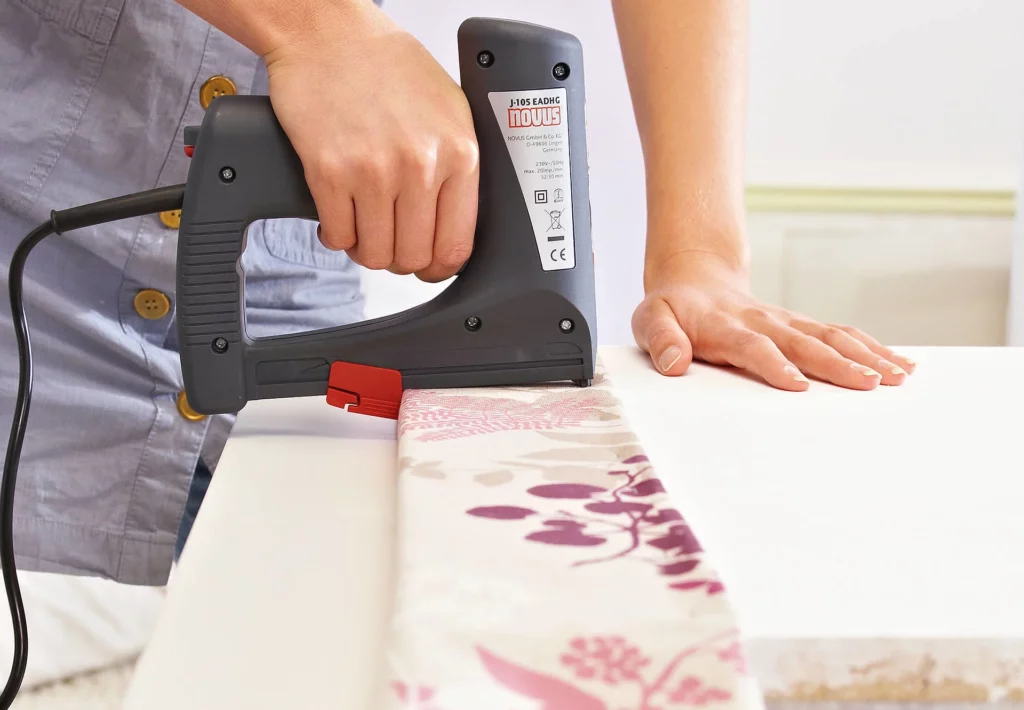
Pull the fabric over the edges of the wooden board and fasten it in place with a tacker using fine wire clips (A). Staple two opposite sides first, so that the fabric remains taut.
Glue the polystyrene panels in place with the Steinel hot-melt glue applicator
Mitre saw the wood strips (45° angle). Turn over the fabric-covered wooden board again and tack down the wood strips along its side edges with nails to form a frame. With the distance holder, you can set the nails exactly parallel to the edge.
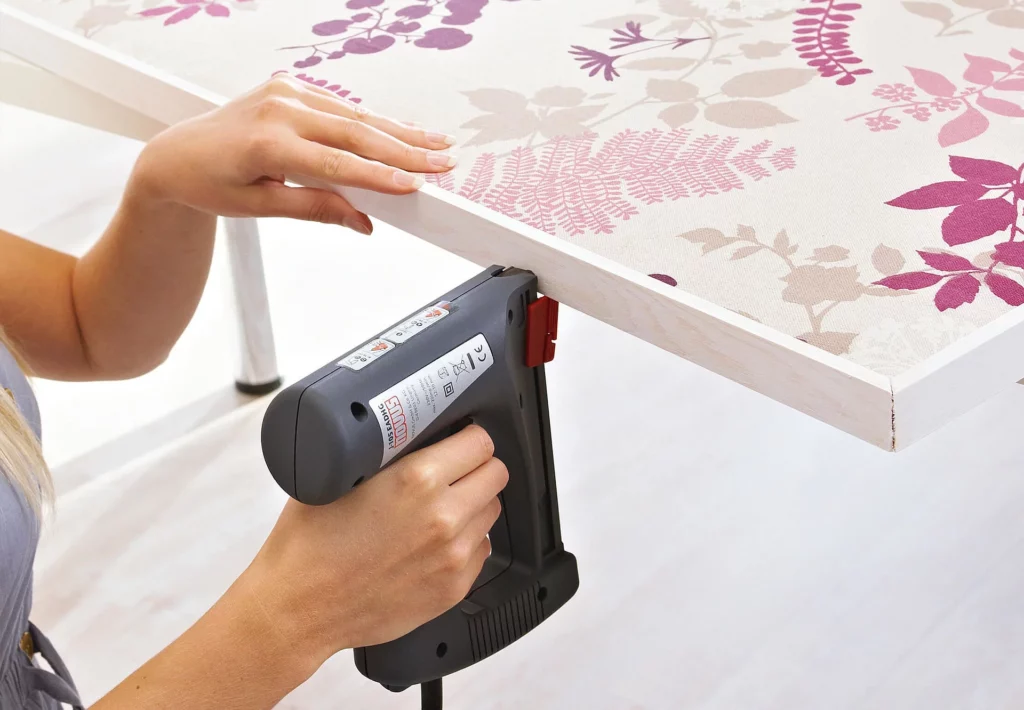
Tip: With a group of wall pictures, you can create a completely new ambience.
Group several pictures together. Allow a space of 20 to 30 cm between each picture, to get the full effect of each one. And you can quickly and easily change the look and feel whenever you want simply by using new fabrics.
